HOW-TO GUIDE: HOW TO HANG WALLPAPER
Our easy, step-by-step guide to hanging wallpaper.
How to hang wallpaper
Never worked with wallpaper before? Check out our step-by-step guide below from Speedy Services the UK's leading tool hire company with helpful tips on how to get you started with your redecoration DIY projects. Hanging wallpapering has never been easier, start to rejuvenate your walls today with our guide on how to hang wallpaper.
What tools do I need to hang wallpaper?
- Bucket & paste
- Pasting brush & table
- Wallpaper
- Snap off knife
- Ruler
- Spirit level
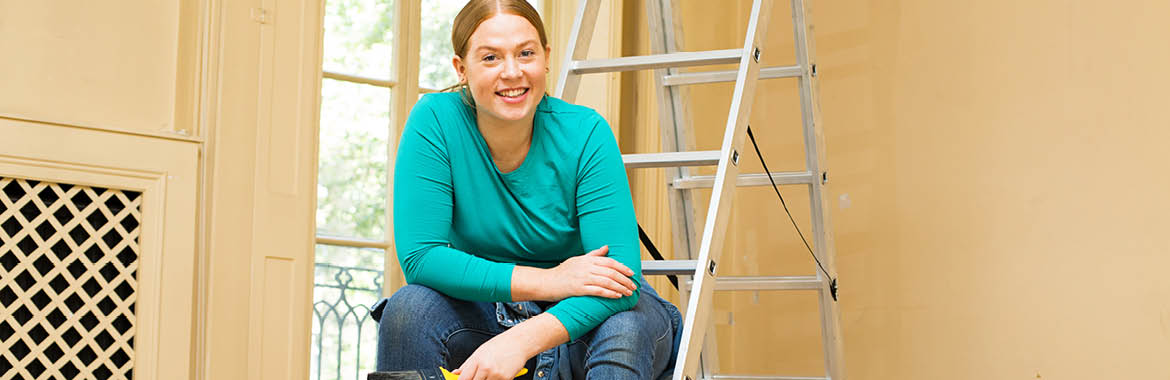
- Stepladder
- Dust sheet
Before you begin hanging wallpaper
To ensure you get the best finish possible for you wallpaper DIY project, please read our check list below for tasks that you may need to carry out before hanging your wallpaper.
- Have you removed any existing wallpaper? Please see our step-by-step guide on how to remove wallpaper to help with this task.
- Have you recently plastered? If so, apply wall sealer to seal the walls porous surface will help to improve the adhesion of the wallpaper paste.
- Have you measured your walls for the correct amount of wallpaper? If so, allow for extra when using patterned wallpaper.
- Ensure all the rolls have the same batch number printed on the label.
- Measure wallpaper against the walls.
- Are there are any fixings on the wall? If so, remove before papering, leaving any wall plugs in place.
- Use a dust sheet to protect the floor or any existing room furnishings.
How to hang wallpaper
To ensure safety at all times hanging wallpaper keep adhesives and sharp tools out of children’s reach, open windows and doors to provide good room ventilation.
Step 1: Ensure wallpaper is dry, straight and smooth.
Step 2: Prepare adhesive) if it isn’t already prepared (follow manufacturer instructions).
Step 3: Sand down any walls that could be covered in gloss or silk paint.
Step 4: Use a spirit level to trace a vertical line 50 cm from the corner of the wall (if your roll measures 53 cm in width). This ensures wallpapering starts from a perfectly straight hanging mark the remaining 3 cm this will allow you to avoid any imperfect corner junctions.
Step 5: Paste the wall or paper applying a thin layer of paste (ensure that it isn’t excessive).
Step 6: Position the wallpaper against the wall and ensure that it is straight and aligned with the line created in step 4. If the wallpaper is not positioned correctly, remove the wallpaper and begin to reposition. Use a stepladder to reach the ceiling.
Step 7: Once you’re happy the wallpaper is straight, smooth out any air bubbles and wrinkles from the centre to the edges.
Step 8: Trim any excess if you are creating a feature wall. Repeat steps 5 to 8 for the rest of the wall, making sure the seams line up each time.
How to wallpaper around windows and doors
Step 1: Clean your surfaces around your windows and doors.
Step 2: Measure around your room to ensure that you are cutting the correct amount of wallpaper around windows and doors.
Step 3: Check the patterns and ensure they are in line with the rest of the room.
Step 4: Cover the openings with the wallpaper strip, mark the angle with your finger cut the excess paper, cut the wallpaper at a 45 ° angle at the mark left by your finger.
How to wallpaper around a light switch
To wallpaper around a light switch, cover them with the strip of wallpaper use a snap off knife and ruler to cut an X over the switch, cut of excess paper from around the switch.
How to wallpaper around a radiator
Step 1: Ideally remove radiator before wallpapering, if this isn’t possible follow steps below.
Step 2: Measure the dimension from the ceiling or window edge to the radiator fixings, adding 2 to 3 cm for the cuts around window casings. If the wallpaper is patterned, add the extra length needed to align to the adjacent strip.
Step 3: Using a ruler and a snap off knife, cut the necessary wallpaper length and hang it on the wall, smooth out around the radiator fixings.

