HOW-TO USE A NAIL GUN
Our easy, step-by-step guide how to use a nail gun.
How to use a nail gun
Whether you are doing some garden landscaping, building a shed or maybe even some woodwork in the house like stud walls, door frames or skirting, the chances are you are going to need nails to hold it together. If that’s the case then you're going to need one of these, nail guns and you can hire them from Speedy, the UK’s number one hire company.
A couple of good things to remember when hiring from Speedy, all our hire equipment is checked, tested, cleaned and serviced before every hire and will come ready to go. You’ll also notice a folder attached to your hire product, these are the safety and operating instructions, please make sure you read these before you begin your job.
There are two types of nail guns you can hire from Speedy. A first fix nail gun is the most powerful, it uses larger nails and is perfect for heavy framing or anything structural. The other type is called a second fix nail gun, this uses smaller nails and is ideal for decorative jobs such as door frames, skirtings or wall panelling.
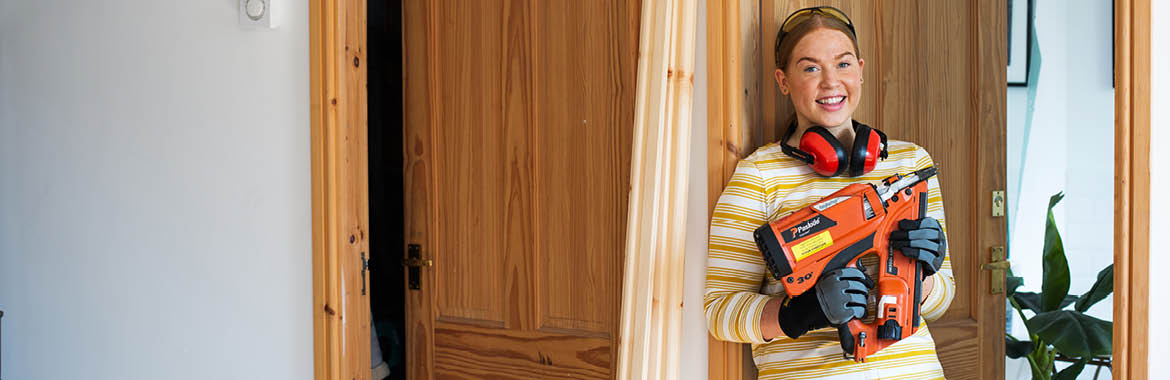
Before you use any nail gun it’s really important that you wear the correct PPE. Goggles, gloves and ear defenders are essential. Any PPE you require can be purchased from Speedy.
STEP 1
Our nail guns use a combination of battery and gas to operate. When you receive your nail gun from Speedy it will come with a battery and charger, the battery simply slots into the base of the gun until you hear it click into place, just hold down the clip and push the battery all the way in listening out for that second click. A small green light will blink at the side to indicate that there’s power.
STEP 2
A gas cylinder will be supplied with every pack of nails that you purchase. To insert the gas cylinder, you simply unclick the door at the back of the nail gun and push the cylinder into place ensuring that the spout is pointing towards the inlet hole.
STEP 3
Loading your nails into the nail gun is really easy, simply drop the nails into the slot at the back of the gun making sure the head of the nails is facing up towards the trigger, you then need to push the button on the side of the lever and pull it upwards allowing it to move down until it hits your nails. This will keep your nails firmly in place and prevent them from moving.
STEP 4
All of our nail guns have a safety mechanism installed to help prevent accidents. The trigger on the handle is what you will need to pull to fire the nail gun, however, it will not fire unless pressure is being put on the tip, so you will need to have the nail gun in position and pressed firmly to the surface that you are fixing before you can pull the trigger.
STEP 5
Whether it is a first fix, or second fix nail gun always keep your hands clear of the under the nail gun and the underside of any structure you are fitting.
STEP 6
Near where the nails fire out you will see a scroll wheel. Turning this wheel will allow you to adjust the depth to which the nail goes into the wood, this means if you want the nails to sit beneath the surface of the wood you can turn it one way and if you want your nails to sit above the surface of the wood you can turn it the other way.
You should never point the nail gun at animals or people, and make sure when you’ve finished using the nail gun that you remove the gas cylinder and battery to ensure it’s safe.
If you have any issues with any of the products you hire from Speedy, just give your local Service Centre a call, as we are always happy to help, and remember to always check the safety guidance before you use any hire product.
Speedy Top Tip! Please watch our How-To Use a Nail Gun Video
Ready for more DIY tips and ideas?
Thank you for reading the Speedy Services blog, there’s plenty more tips and how-to-guides where this came from. Keep checking back here for more inspiration and help for your DIY projects.
You’ll find all the power tools you need right here, why not start planning your next DIY project and open a Speedy account today online and instore for all your tool hire needs.

