How to Panel a Wall: DIY Wall Panelling in 7 Steps
Panelling your wall at home is an easy way to completely transform a room's look. It is a really simple DIY task, and Speedy will walk you through all the steps below.
Whether you’re after a full floor-to-ceiling shiplap/tongue and groove style boarding to cover the walls in the understairs boot room or half-wall board and batten style behind your bed, the methods are similar.
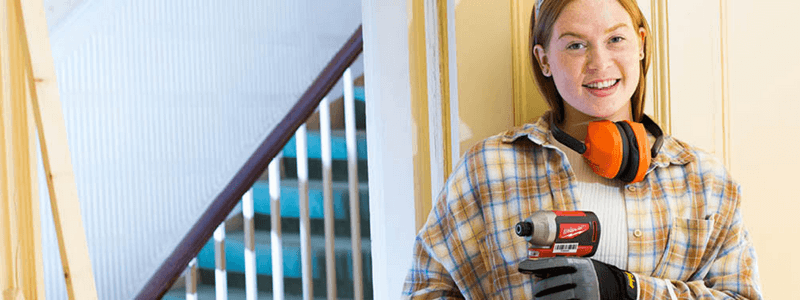
When doing any decorating and DIY, always wear PPE. Eye protection and a mask will be vital here as dust will be created, and you’ll also want to wear work gloves when using tools such as nail guns and saws.
If painting, cover all exposed skin and wear a mask, too.
What You Will Need:
- Tape measure
- Pencil & paper
- Wall sander
- Fine grit sandpaper/sanding block
- Nail gun
- MDF boards or moulding
- Spirit level
- Paint
- Filler/caulk
Ideally, this is a two-person job, as you’ll need help positioning the panels and ensuring they’re straight.
SPEEDY TOP TIP: Use a 2nd Fix Nailer for panelling a wall, as it will leave less of an impression on the wood, and is for more delicate jobs.
Wall Panelling Step-by-Step Guide
Step 1 – Decide and design
Grab some paper and a pencil and do a rough drawing and design of what you want.
Shiplap or wooden slats covering the entire wall will be easier to design than a full wall of geometric squares, but this step is still so important.
You’ll have to decide whether you want thick or thin MDF, too. Thinner can be a bit less stand-out and more subtle, but thicker MDF will be easier to work with and will cover more of the wall.
Once you’re happy with the plans, measure up.
Step 2 – Measure
Measure your wall using a tape measure. You’ll need both the width and height to check how many panels you require.
Once you have the full measurements, decide how many panels you will need or how spaced out you want your geometric squares to be. You’ll have to play around with this, so the paper and pencil will come in handy again.
You can take your MDF to a local hardware store such as B&Q to be cut to size, or if you have a saw at home, you can cut it to size yourself.
SPEEDY TOP TIP: Creating a traditional geometric square look with moulding? Remember to angle your corners so they all fit together.
Step 3 – Sand your wall
Use a wall sander to sand your walls and get them as even as possible. If you have any holes, filling them in is a good idea and allowing the filler to dry before sanding again.
This will ensure the panelling lays flat; you don’t want it to bend and warp over time, which could cause it to snap or splinter.
Remove any dust left behind with a damp cloth or your vacuum cleaner.
Step 4 – Paint the wall
This step may be optional if you’re covering the whole wall with shiplap panelling, but if you have parts of the wall exposed, it is easier to do this now.
Sanding may mean some of the paint has faded. If you’re painting your panelling a different colour to the wall, you won’t have to be as careful with decorators’ tape once the panelling is fitted.
Painting the whole wall now will mean you only need a brush to cover the panelling once fitted. If you’re covering half the wall with panelling, there’s only a need to paint the exposed half.
A paint sprayer could speed up the job, especially if you have more painting to do in the home or garden.
Step 5 – Attach the panels
The quickest way to do this is by using a nail gun. It is less messy, and more substantial over time. Position the panel in place and ensure it is even by using your spirit level.
Start with a nail in the centre of the panel after positioning it. This should hold it in place, allowing you to then add more nails without holding it in place.
You can also use adhesive glue, but it is less instant as you have to leave it to dry, and you have to be careful to get it right. If you do use glue, apply 10cm from the edges and leave 30cm between glue blobs at the very most.
Step 6 – Seal gaps and fill holes
Once all of the panels are in place, fill in any small holes created by the nail gun. Allow to dry before sanding with some fine grit sandpaper.
You will also want to seal any gaps around the panels or moulding, using the decorator's caulk. This can also be applied to every joint to make them a bit less visible!
Again, allow to dry fully before sanding with sandpaper.
Step 7 – Paint
Bare wood may be the look you’re going for, but if not, paint the panelling.
You’ll want paint suitable for wood. If you’re using the same paint as the walls, try using a primer beforehand instead.
If you leave the wood bare for a natural look, use a stain or varnish. This must be repeated every year, but otherwise, you’re done!
READY FOR MORE DIY TIPS?
Thank you for reading our Speedy Hire blog. We hope you now have everything you need to panel your home.
When it is time to start your DIY project, Speedy has all of the tools you need to get the job done, available to hire across the UK. Open a Speedy account online to see our full range, and pricing, and to book your hire online. Or pop in-store for further advice.
We also have Click & Collect options on over 400 products, available to pick up from your local depot.
For more tips subscribe to our YouTube Channel
Find ideas on Instagram
- 2024
- 2023
- December 2023 (13)
- November 2023 (10)
- October 2023 (6)
- September 2023 (10)
- August 2023 (20)
- July 2023 (21)
- June 2023 (17)
- May 2023 (17)
- April 2023 (17)
- March 2023 (14)
- February 2023 (15)
- January 2023 (7)
- 2022
- December 2022 (6)
- November 2022 (12)
- October 2022 (24)
- September 2022 (14)
- August 2022 (12)
- July 2022 (15)
- June 2022 (18)
- May 2022 (14)
- April 2022 (9)
- March 2022 (5)
- February 2022 (5)
- January 2022 (2)
- 2021
- December 2021 (7)
- November 2021 (10)
- October 2021 (1)
- September 2021 (1)
- August 2021 (3)
- July 2021 (3)
- June 2021 (4)
- May 2021 (1)
- April 2021 (1)
- March 2021 (2)
- February 2021 (1)
- January 2021 (1)
- 2020
- 2019
- 2017
- 2016
- 2014
- 2013
- 2012
- 2011


