A Guide to Floor Screeding
Floor screeding is the process of using a thin layer of floor screed (or concrete mix) to level out and smoothen an existing concrete floor, in preparation for fitting laminate or other flooring types.
It is a common practice in older homes when removing existing carpet and flooring and levelling up a concrete sub-base that is particularly uneven.
Concrete sub-bases can sometimes also not provide the best surface on their own, as they can become cracked and damaged over time.
Floor screed can also be used if fitting underfloor heating, to cover the pipes used in the system. It isn’t structural, so you will need flooring on top of the screed.
Commonly, a screed is made from one part cement to between three to five parts sharp sand, giving a mix similar to concrete.
How to Screed a Floor
Screeding a floor can be a complicated job which isn’t easy to remedy if it goes wrong. But as long as you are well prepared, know what you have to do, and have hired all of the correct tools, it is something you can attempt yourself without a professional.
Before you begin, measure your room to ensure you have enough screed, and work out how deep your screed has to be.
You will need:
- Vacuum cleaner
- Sugar soap
- Timber battens
- Screed mix
- Screed mixer
- Hand tamper beam or screeding drive unit
- Float
- Spirit level
When screeding, wear PPE. Gloves, work boots, eye protection, and a mask are all needed. Ensure all bare skin is covered, too.
Step 1: Prepare the floor
If you’ve torn up carpet or lino and are now left with your plain concrete sub-base, ensure the surface is ready for screed.
Using a vacuum is likely the easiest option. This will collect any dust and debris. Ensure you use the crevice tool and other hand tools to get properly into the corners and edges and use a brush if you need to.
Then use sugar soap to smoothen the floor and eliminate any bumps.
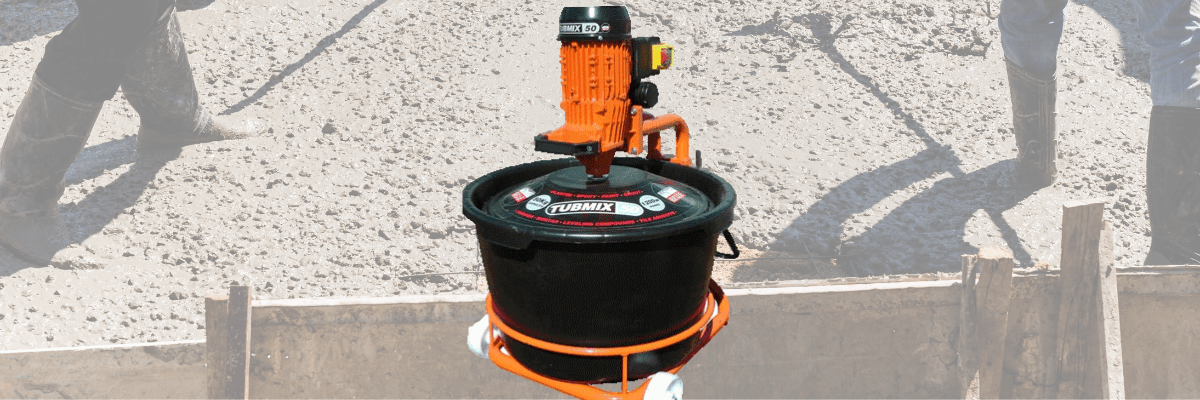
Meanwhile, you should be mixing your screed if you need to. Use a dedicated screed mixer to ensure the ingredients are sufficiently mixed.
Step 2: Divide the floor into sections
If using an unbonded screed, you will have to first lay a damp-proof polythene sheet down onto the floor as a base. Overlap any individual sheets by around 25cm using duct tape to join, and let the sheets rise slightly up onto the walls.
Bonded screed is ready to apply straight to the concrete floor.
Use straight-edged timber battens to divide the floor into smaller sections which are easier to work with. Wet the batten before laying, so it will be easier to remove and won’t stick to the screed.
Ensure the batten is wide enough for the depth of screed you’re applying. The sections of your room should be about 3-4cm wide which will allow you to fill in any gaps without risking damaging the screed which has just been laid.
Check they are level using a spirit level. You may want to skip this step if working with a small room.
Step 3: Apply the screed to the first section.
It is easiest to use a spade to apply the screed to the floor.
Start from the furthest spot away from the door and plan to work backwards towards the door.
Step 4: Level the screed
Use a hand tamper beam to level out the screed in each section. You can use a screeding drive unit and a screeding beam on larger areas if the room hasn’t been divided.
Roll the screed in a forward and backward motion, fill in any hollows, and repeat the process. Use a small metal trowel or float to finish off any precise sections, such as around the room edges.
Always use any already screeded areas as a guide to the height required. Check the height and level with a spirit level after every section is completed.
Once you have completed two sections, remove the timber batten separating them and fill with screed before levelling out.
Step 5: Allow to dry
Traditional screed typically will take around 7 days to cure, and then a further 24-48 hours for the drying process. The room mustn't be touched during this time, as it will damage the screed.
For more precise drying time, generally, it will take one day for every mm of screed depth to dry, depending on the type of screed used.
You can also purchase fast-drying screed which can dry in a matter of hours, but it can be a more expensive solution, so choose which best suits your lifestyle.
NEED MORE ADVICE?
We believe you can DIY any job around the house, so have a range of advice and how-to’s on our Advice page.
When you’re ready, open a Speedy account online or visit us in-store for all your tool hire needs.
Speedy has more than 200 local service centres across the nation, hire counters in selected B&Qs and nationwide 4-hour delivery. It has never been easier to hire the tools and equipment you need.
For more tips subscribe to our YouTube Channel
Find ideas on Instagram
- 2024
- 2023
- December 2023 (13)
- November 2023 (9)
- October 2023 (7)
- September 2023 (10)
- August 2023 (20)
- July 2023 (21)
- June 2023 (17)
- May 2023 (17)
- April 2023 (16)
- March 2023 (14)
- February 2023 (15)
- January 2023 (7)
- 2022
- December 2022 (6)
- November 2022 (12)
- October 2022 (24)
- September 2022 (14)
- August 2022 (12)
- July 2022 (15)
- June 2022 (18)
- May 2022 (14)
- April 2022 (9)
- March 2022 (5)
- February 2022 (5)
- January 2022 (2)
- 2021
- December 2021 (7)
- November 2021 (10)
- October 2021 (1)
- September 2021 (1)
- August 2021 (3)
- July 2021 (3)
- June 2021 (4)
- May 2021 (1)
- April 2021 (1)
- March 2021 (2)
- February 2021 (1)
- January 2021 (1)
- 2020
- 2019
- 2017
- 2016
- 2014
- 2013
- 2012
- 2011


