How to Hang Kitchen Wall Cabinets
Kitchen wall cabinets can help provide some much-needed food storage space in your home. Whether you’re lining your walls with cabinets, or just need one or two for display purposes, you need to plan, measure, and ensure the fixings are strong enough.
Installing upper cabinets before lower cabinets is often recommended if you’re fitting a new kitchen from scratch.
Kitchen wall cabinets in the UK generally are fitted using wall brackets, which are attached to the wall before the cabinet. These then hold the weight of the cabinet. This is the option we would recommend, which will prevent the need to fit a ledger for support.
How to Install Wall Cabinets: Step-by-Step Guide
What you need:
- Pencil
- Tape measure
- Multi-detector
- Spirit level
- Drill
- Wall plugs
- Screws
You need to analyse the type of wall you’re installing your cabinets onto. A masonry wall will be able to hold the weight and you will be able to drill anywhere where cables are not present. However, if installing on a timber frame wall, you will need to find secure fixing points in the timber frame.
Therefore, you may have to adjust the design of your kitchen setup slightly to accommodate.
Always wear PPE when drilling and doing DIY at home. Eye protection, dust masks, gloves, work boots, and clothing which covers your skin are all essential.
Step 1: Use a multi-detector
A multi-detector will be able to detect any pipes, cables, or wires situated in your walls. In kitchens, water, gas, and electricity are all present, so it is really crucial to check where you can’t drill into.
Mark any areas to avoid, so you know where you can hang your cabinets. You may wish to do this step before you buy the cabinets and plan your kitchen in case it affects your plans.
If installing onto a timber stud wall, use a stud finder to locate the timber supports. You will have to drill into these rather than the plasterboard wall.
Step 2: Measure & mark where cabinets will hang
You need to know a) how large the wall cabinet is and b) where it will sit on the wall. Measure how much space you want above the kitchen worktops and use a pencil to mark where the bottom of the cabinet will sit.
Wall units can be placed around a minimum of 450-500mm above the bottom worktop. You may want to line the base of your wall units up with a tall larder or fridge.
Use a tape measure and spirit level to mark and draw level lines which you can use as a guideline for placement. Ensure corners are clearly defined.
Then use a pencil to measure and mark where you will need to drill and fix the cabinet brackets in relation to the hooks on the back of the cabinet. Use the holes as a guide to mark the screw holes on the wall with a pencil.
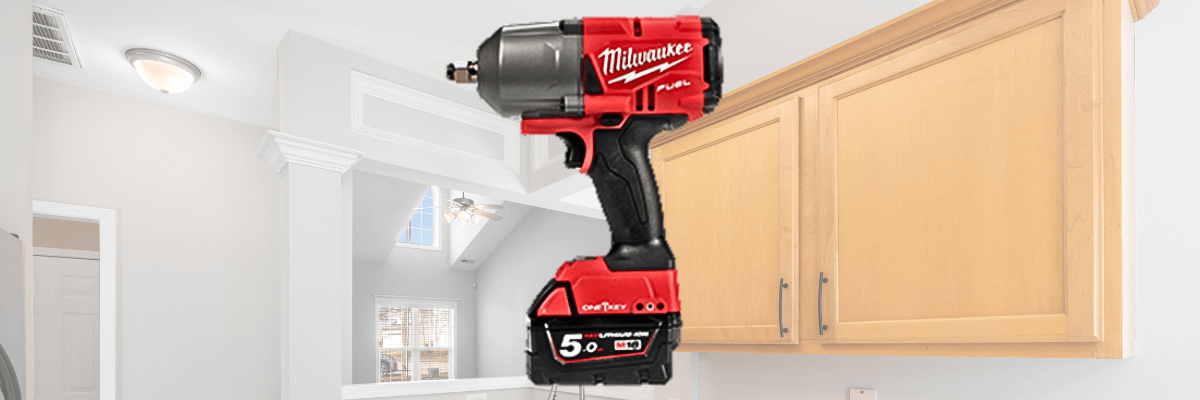
Step 3: Drill
A masonry wall will require a masonry hammer drill. Drilling into studs in a wall will require a wood drill bit.
Always use wall plugs. Pre-drill your holes and fit the wall plugs first before installing the brackets. Your cabinet should come with the screws required for bracket installation.
Step 4: Install the cabinets
It is best to start from a corner, or the left if you don’t have a corner. With some assistance, raise the cabinet up to just above the bracket. Push against the wall and drop slightly until it hooks onto the bracket.
Use your spirit level to check everything is level before moving on to cabinet number two and repeating the process.
SPEEDY TOP TIP: Not quite level? Use adjuster blocks to adjust the placement slightly. Clockwise turns can tighten or raise one side of the cabinet, and anti-clockwise lowers or loosens one side.
Move on to the next cabinet, and so on. Keep checking both the cabinets and the faces are straight using your spirit level.
Step 5: Finish
Once complete, fit the cabinet doors after you’ve fitted any moulding or filled in wall gaps.
Cabinet Installation Tips
- If your wall is bowed, install shims to the wall before fitting the brackets. This will prevent the cabinet backs from bowing or being difficult to hook onto the bracket.
- Have gaps on either side of the cabinets? Use a filler to hide it! This can either be moulding glued onto the cabinet edge, or a piece of wood drilled through the wall through the end cabinet.
- To hide the gap between the moulding and the edge of your cabinet, you can simply use a filler or caulk before painting and sanding to match the cabinet.
- It could be cheaper to buy plain cabinets and paint them yourself, especially if you want a bold colour. You can then choose your hardware.
READY FOR MORE KITCHEN TIPS?
Hopefully, with the above tips, you’re well on your way to transforming your kitchen.
To fill in any old holes, read our guide on the best way to fill holes in your walls. You may also wish to install a splashback once the cabinets are installed, so follow our guide on how to tile a wall for some tips.
You can hire drills, cable detectors, and a vast range of other power tools from Speedy. We also have consumables such as PPE and measuring equipment for sale. Open a Speedy account online or visit us in-store for all your tool hire needs. You can also use our app 24/7.
Speedy has more than 200 local service centres across the nation, hire counters in selected B&Qs and nationwide 4-hour delivery. Why buy tools when you can hire?
For more tips subscribe to our YouTube Channel
Find ideas on Instagram
- 2024
- 2023
- December 2023 (13)
- November 2023 (9)
- October 2023 (7)
- September 2023 (10)
- August 2023 (20)
- July 2023 (21)
- June 2023 (17)
- May 2023 (17)
- April 2023 (16)
- March 2023 (14)
- February 2023 (15)
- January 2023 (7)
- 2022
- December 2022 (6)
- November 2022 (12)
- October 2022 (24)
- September 2022 (14)
- August 2022 (12)
- July 2022 (15)
- June 2022 (18)
- May 2022 (14)
- April 2022 (9)
- March 2022 (5)
- February 2022 (5)
- January 2022 (2)
- 2021
- December 2021 (7)
- November 2021 (10)
- October 2021 (1)
- September 2021 (1)
- August 2021 (3)
- July 2021 (3)
- June 2021 (4)
- May 2021 (1)
- April 2021 (1)
- March 2021 (2)
- February 2021 (1)
- January 2021 (1)
- 2020
- 2019
- 2017
- 2016
- 2014
- 2013
- 2012
- 2011


