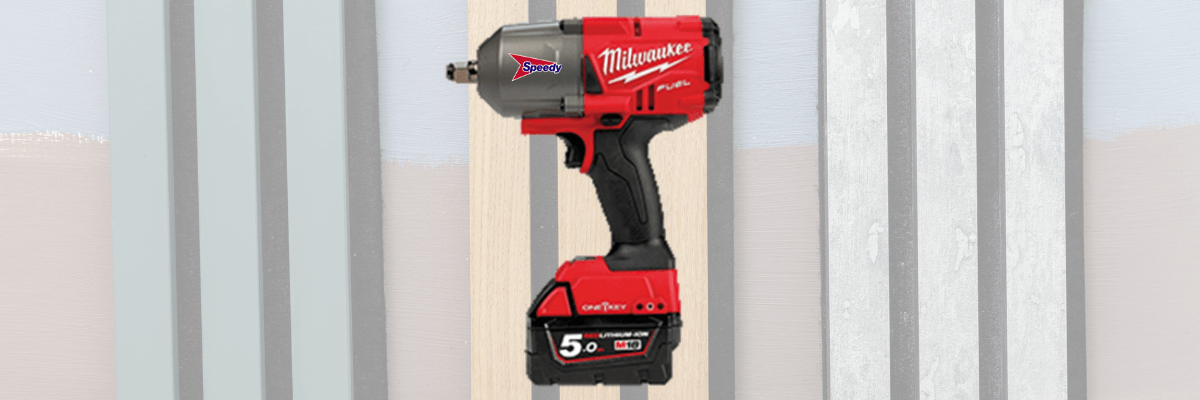
How to Soundproof a Room
Soundproofing a shared wall will minimise the disturbance caused by others and the disruption caused by yourself to others.
You can place furnishings or large furniture items against walls to dampen noise, but you will need to install soundproofing panels to the wall for a more permanent solution.
While you can't completely soundproof a domestic room, you can reduce the noise levels to a sound which is acceptable to you. Using a combination of approaches can yield the best results.
Below, we will run through how to install soundproofing to an existing wall and give you other options for reducing sound between neighbours.
How to soundproof existing walls
Walls are dense, so they absorb sound waves and transmit them through to the other end. This means shared walls between neighbours can carry everything from babies crying to talking and music.
The best option for a permanent solution is to install soundproofing materials on your wall. Acoustic panels can be purchased to give a look of panelling to a room. Alternatively, installing soundproof panels and plasterboard over the top is a less obvious solution.
Whatever your choice, follow the instructions on your specific soundproof material. Some panels allow you to use adhesive, such as No More Nails, for a quick, easy installation, but below we will talk through screwing them to the wall.
You will need:
- Soundproof material/boards
- Drill
- Tape measure
- Rawl plugs
- Screws
- Stud finder
- Hammer
- Filler
Don't forget to wear PPE when carrying out any DIY tasks. When drilling, you must wear eye protection and a dust mask. You can purchase PPE alongside your hire equipment straight from Speedy.
Method:
- Measure your wall
Ensure your soundproof panel is large enough for your wall. You want as much coverage as possible. You may need to cut it to size using a saw.
- Check for studs and pipes
You don't want to drill through an electrical wire or water pipe. Use a stud finder to detect studs, wires, and pipes. Mark on the wall where it needs to be avoided for drilling and where studs are for preferential drilling.
- Drill the holes
If the panels don't come with pre-drilled holes for fixing to the wall, drill these yourself. Follow the instructions on how to space the holes and how many you need.
Then, mark and drill your holes; remember to try and aim for where your studs are, and avoid the pipes.
- Install the rawl plugs
Hold the panel up to the wall. Mark on the wall where the holes in your panel are. This is where your rawl plugs will go.
Drill a hole, then fit the rawl plugs, using a hammer to secure them flush to the wall. Alternatively, use a tape measure instead to mark where the holes must go.
- Screw your panel to the wall
You now have where you will be attaching the panel to the wall. Screw the panel onto the wall using the pre-drilled holes as a guide. Work from the top downwards to help steady and secure the panel.
- Fill the holes
Fill the holes in for a clean look. If you're not painting the panel, try to match its colour, so use wood filler for wooden panelling.
When dry, lightly sand the filler to flush with the panel, and finish how you wish. You may choose to paint the panelling or need to install plasterboard over the top.
Types of soundproof panelling
First, you need to decide on the best soundproofing solution. Some require more work than others.
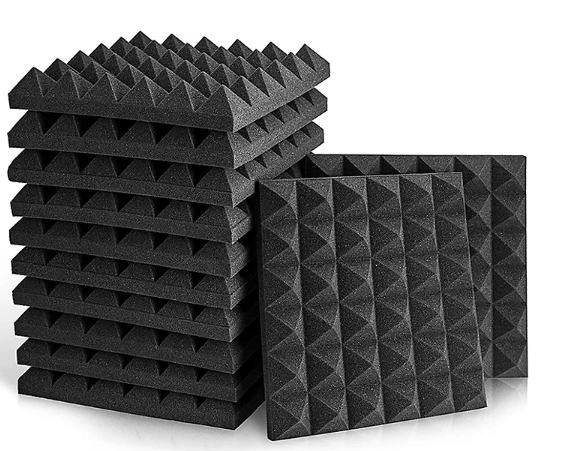
- Acoustic wall panels
These panels are built with sound-absorbing material to reduce the noise that leaves a room. They can also help absorb the sound coming from shared walls.
They come pre-made and can look quite aesthetic and stylish, too. Commonly, they are styled like panelling.

- Self-adhesive panels
These panels can be cut to size and can just be stuck on the wall with no screws or fixings. This is ideal if you're not keen on DIY or live in a rented property. Most of these are made from a foam-like material, but you can get various options now.
- Internal stud wall with insulation
Insulation can be fitted onto a wall, then a stud plasterboard wall. This permanent solution to noise disturbance can be especially practical in older properties with thin walls.
FAQ's
Are there any other ways to soundproof a wall?
If you rent or aren't prepared to start drilling into walls because of the mess, dampening sound with furniture is one of your only options. Placing wardrobes, TVs, bookcases, and storage against noisy walls can help soften the sound.
If the noise is bothersome, you can inform your landlord. They may be able to install some soundproof wall panels or maybe even look into cavity wall insulation, which can also help reduce heat loss.
Can I soundproof a window?
Windows can be trickier. External traffic noise can be bothersome, especially if you live near a busy route. Aside from ensuring windows are adjusted correctly to be closed tight and using sound-dampening curtains, your only option is replacing windows with triple glazing or even specialist soundproofing windows.
Wooden shutters are also popular. For a more affordable option, they can now be bought from many high-street homeware retailers and fitted yourself.
Why is it hard to soundproof a room?
Soundwaves can find their way through small gaps, and high-pitched sounds (such as a baby crying or a dog barking) can be challenging to ignore. Low-frequency noise travels a longer distance, so you may even hear motorway traffic despite not being close to the motorway, depending on the direction of the wind blowing.
Older homes can suffer. You'd think that a terraced house built in the 1900s would be solid regarding shared walls, but insulation and noise levels were rare back then!
So, while installing soundproofing will help, it won't reduce sound to zero.
READY TO HIRE?
You'll find all the power tools and hire equipment you need here. Why not start planning your next DIY project and open a Speedy account online or visit us instore for all your tool hire needs.
Speedy has more than 200 local service centres nationwide, hire counters in selected B&Qs and nationwide 4-hour delivery. It has never been easier to hire the tools and equipment you need.
- 2024
- 2023
- December 2023 (13)
- November 2023 (9)
- October 2023 (7)
- September 2023 (10)
- August 2023 (20)
- July 2023 (21)
- June 2023 (17)
- May 2023 (17)
- April 2023 (17)
- March 2023 (14)
- February 2023 (15)
- January 2023 (7)
- 2022
- December 2022 (6)
- November 2022 (12)
- October 2022 (24)
- September 2022 (14)
- August 2022 (12)
- July 2022 (15)
- June 2022 (18)
- May 2022 (14)
- April 2022 (9)
- March 2022 (5)
- February 2022 (5)
- January 2022 (2)
- 2021
- December 2021 (7)
- November 2021 (10)
- October 2021 (1)
- September 2021 (1)
- August 2021 (3)
- July 2021 (3)
- June 2021 (4)
- May 2021 (1)
- April 2021 (1)
- March 2021 (2)
- February 2021 (1)
- January 2021 (1)
- 2020
- 2019
- 2017
- 2016
- 2014
- 2013
- 2012
- 2011